Tutorial|3 Handmade Scented Candles
- November 24, 2022
This time I made 3 models
Even though they're all the same
But they are all different
There are places that require special attention
Style
Because I'm filming when I do it
I didn't do too many tricks
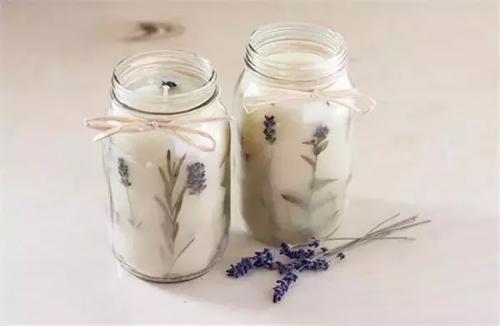
You can add dried flowers and hay yourself
Tie the ribbon on the outside when finished
Then get ready to get down to business~
When you see this name, you may feel very strange. Ice cubes and candles are two completely opposite things, right? Yes, so here I am just using ice cubes for shaping and I hope my post can inspire you.
Required consumables:
1. Container (preferably tearable, such as a milk carton)
2. Wax sheet or cut wax block
3. Candlewick
4. Prepare the wax in a small saucepan (discarded jars can be used)
5. Boiling water cauldron
6. Discarded chopsticks
7. Thermometer
8. Coloring
9. Essential oil for aromatherapy
10. Ice
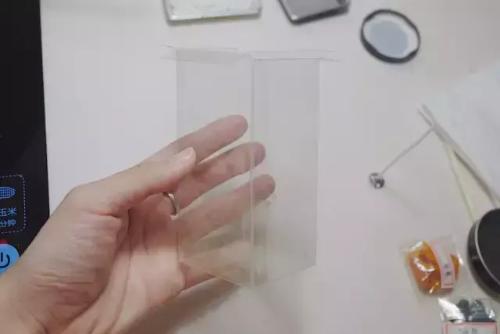 container (tearable plastic)
The bottom of the plastic box that originally contained the stationery was sealed with tape
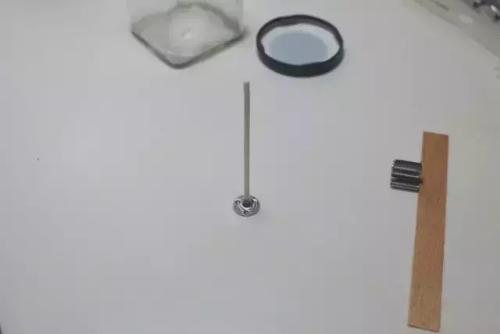 candle wick
When buying candle wicks, don't forget little Tito
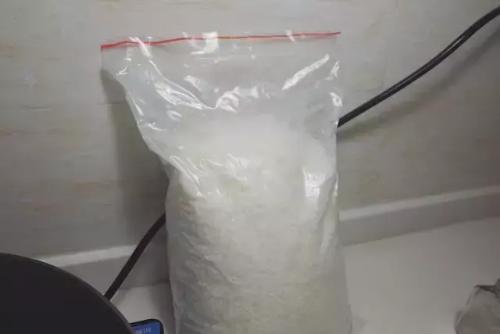 Soy wax flakes
I only bought soy wax because the first time I bought it, I found it smelled really good, with a slight milky smell, and the color was also very good. After that, I buy soy wax again. It is said that it is still very environmentally friendly?
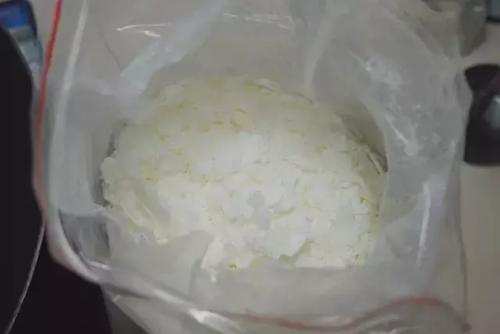 Soy wax flakes closeup
It is convenient to buy immediately in slices and melt. If you have ready-made candles at home, you can cut them with a knife
 boiled wax
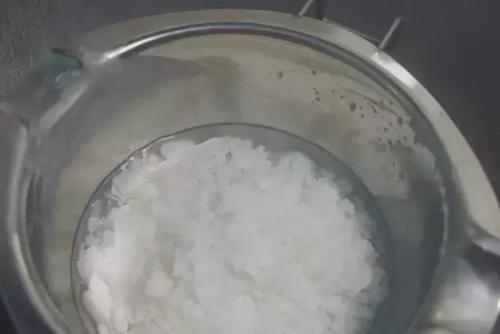 The edge begins to melt, stir with chopsticks, start from the middle, melts
Don't burn too hard, control the temperature of the wax
measure the temperaturePreferably below 60 degrees, too high a temperature will cause surface cracks on final cooling
read dye dataThe color of the dye at this time is very different from the color received, be careful not to apply too much at one time
Take a piece of yellow dye, put it in the melted wax and mix.Stir gently to speed up the fusion of the dye and the wax
Aromatherapy essential oilJust buy the fragrance you like
drop of essential oilDrip into wax, then gently stir with chopsticks
Reserve ice cubesCrush smaller ice cubes and try to use as many as you can. This time I used too little and the effect is not visible from the outside
Place candle wicks and ice cubesDip some of the melted wax on the iron stand at the bottom of the candle wick and then secure it in the middle of the bottom; pour a small amount of wax, check if there is a hole in the bottom, and add ice cubes if there are no problems
Pour the waxAfter adding ice cubes, immediately pour wax into it
to harden 1Once the wax is poured, it cools around the ice cube, looks amazing~ Looks like a mango halberd
solidified 2 solidified 3 solidified 4After it has completely solidified, remove the candle, cut off the excess wick, and you're done:
Finished product Light the candleIt turns out there aren't really enough ice cubes to figure out why... I borrowed the picture of a lucky ice candle as an incentive. The red candle below is my favorite:
velvet feelingPay attention to a few points when making multilayer candles:
1. After the previous layer is completely dry, add the next layer
2. If the width of each layer must be the same, then the boiled wax must be quantitative (except for non-standard containers)
3. Color Control (Dye)
Required consumables:
1. Glass jars, tin cans, etc. 2. Wax flakes 3. Candle wicks 4. Small pots for boiling wax 5. Large pots for boiling water 6. Discarded chopsticks 7. Thermometers 8. Dyes 9. Essential oils for aromatherapy (optional)
Small glass jar, candle wick, fixed candle wick, iron bracket, fixedDip the iron stand in the melted wax, then take it out and place it on the bottom of the container, the wax will harden instantly
Attach the candle wick clipThis is a special little tool, you can use a hairpin instead
to fix the candle wickBecause the glass jar is very small, cut the slits on both ends of this gadget into thestanding time not used
Quantitative waxThe kitchen scale is empty, so find a few plastic saucers of the same size to measure the amount of wax for each layer
Ready to start Melting the first layerBetter than expected appearance after complete cooling
Second layer (not cooled) Third layer Third layer (not cooled) decorationWhen I did each layer before, I also did a piece in a small saucer, but the original plan was white + mint green, but I didn’t know the difference, so I did it in one color, but I still insisted on cut small triangles out of it to decorate the neck of the candle...
Collect the rest of the waxDon't throw away broken wax, next time it will melt and harden, it will still be a good guy
Done~~ The layers took the most time to create, but luckily the color is good and it feels like summer is coming
This is the most basic and simple, and I want to tell you only about it:
1. The consequences of too high a temperature and how to deal with it
2. How to deal with bubbles on the wax surface
Required consumables:
1. Glass jars, tin cans, etc. 2. Wax flakes 3. Wooden candle wicks 4. Small pots for boiling wax 5. Large pots for boiling water 6. Discarded chopsticks 7. Thermometers 8. Dyes 9. Aromatherapy essential oil (optional)
Dip the wax into the bottom of the wick of a wooden candle and secure the iron holder. Take the paint and melt it. After the paint has melted, pour the wax and wait for the crack to cool.There are depressions and cracks here, the reason is that the temperature of the wax is too high;
a small amount of wax + paint a new layer to combat air bubblesWhen just pouring, lightly pierce with an awl or the tip of a needle
The bubbles will disappear and cool completelyControl the temperature well and now the surface of the new layer is very smooth~
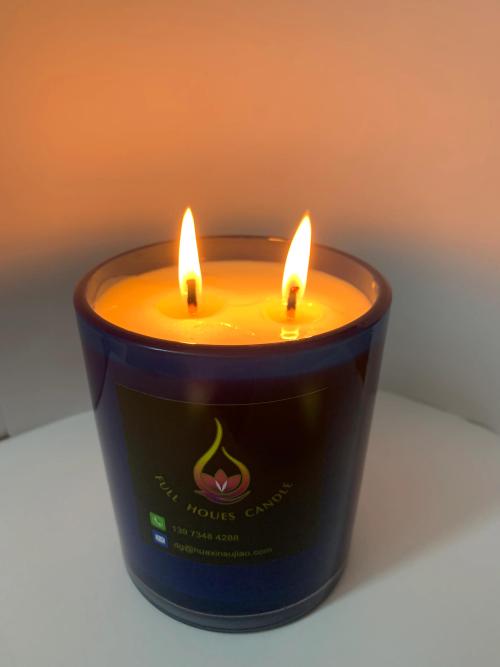
Finished productCut off the extra wick and you're done!
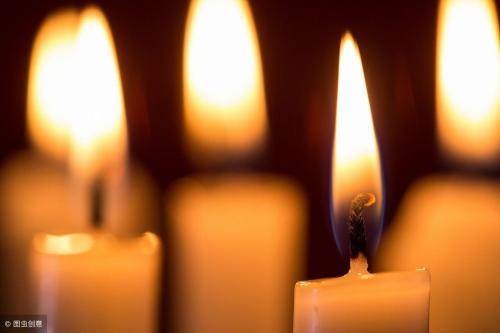
Light a candleCandle making is a craft that can realize waste recycling
Almost all tools can be replaced with scrap
You can also use your own crafts
Place some of the bottles and cans you are about to throw away in the trash
Become a beautiful and practical candle
When there is a power outage in the future, you won't have to worry about the traditional candles that decorate the countertop
I hope this guide helps you
Looking forward to everyone who makes beautiful handmade candles to share with me